


How to Draw Cartoon Mouth Drawing Step By Step || Drawing Tutorial
Cartoon Mouth
Our mouths are a significant element of our countenances for some reasons. It can be challenging to draw for such a significant component! Craftsmen, both novices and experienced the same experience, had difficulties figuring out how to draw a cartoon mouth.
Visit the butterfly coloring sheets.
You’re perfectly positioned on the off chance you have battled with this! This instructional exercise is the spot to be on the off chance you want to realize how it’s finished. This bit-by-bit guide on the most proficient method to draw a cartoon mouth in only 6 simple tasks will show you exactly how simple it can be to the point you know what to do!
Stage 1 – cartoon mouth drawing
The cartoon mouth drawing in this guide will confront the side, and the mouth will be in a tomfoolery and expressive posture! We will keep things straightforward in this initial step of the aide, which implies we will define the top boundary of the lips frame.
The line will get slim and a piece wavy on the left. However, at that point, it will become two adjusted, wavy lines close to the right-hand edge.
When this top blueprint is finished, we can continue toward the second step of the aid!
Stage 2 – Presently, draw the remainder of the top lip
Assuming you allude to later pictures in this aide on the most proficient method to draw a cartoon mouth, you’ll see that the two lips are discrete pieces associated with each other. In light of this, we will draw the remainder of the top lip frame just like our own piece.
Fortunately, this ought to be a simple undertaking to achieve! You should define a bent boundary at the foundation of the line that you attracted the past step. This bent line will be smooth and straightforward and interface the upper layout’s two sides. The reference picture will show how this should look, and we can continue afterwards!
Visit the Photos for kids education.
Stage 3 – Next, add the lower piece of the mouth
We will leave the top lip for the present as we work on the lower piece of the mouth. The mouth will be opened broadly in a grin, and we will utilize a few additional adjusted, bent lines descending from the top lip.
This is unquestionably a piece of the aid where you might need to intently allude to the reference picture as you draw, as these lines have a fairly unambiguous shape. Whenever you have drawn these frameworks, you can then draw the base lip utilizing one more bent line, and afterwards, we can continue to add subtleties in sync 4.
Stage 4 – Presently, draw the teeth and tongue subtleties
You have completed the lip frameworks of your cartoon mouth drawing, and we will add a few inward components. In particular, we will draw the frameworks for the two lines of teeth and the tongue. The teeth layouts can be drawn utilizing a few straightforward bent, smooth lines inside the mouth lined up with the lips.
Then, at that point, we will add a few basic bent lines between the teeth columns for the tongue. However, we will add a few subtleties for the isolated portions as we continue toward the last subtleties in the following stage.
Stage 5 – Add the last subtleties to your drawing.
Before you add a few varieties in the last step of this aide on the most proficient method to draw a cartoon mouth, we have a couple of additional subtleties to add. These subtleties will go basically on the columns of teeth within the mouth. You can use straightforward vertical lines along the teeth to show where they are isolated.
When you have the teeth drawn as they search in the reference picture, you will be prepared for the last step! Before continuing, add a few subtleties of your own! Consider bringing the lips into various positions, or you could go truly aggressive and draw a greater amount of the face encompassing it.
It depends on you now, so how might you polish off this extraordinary drawing?
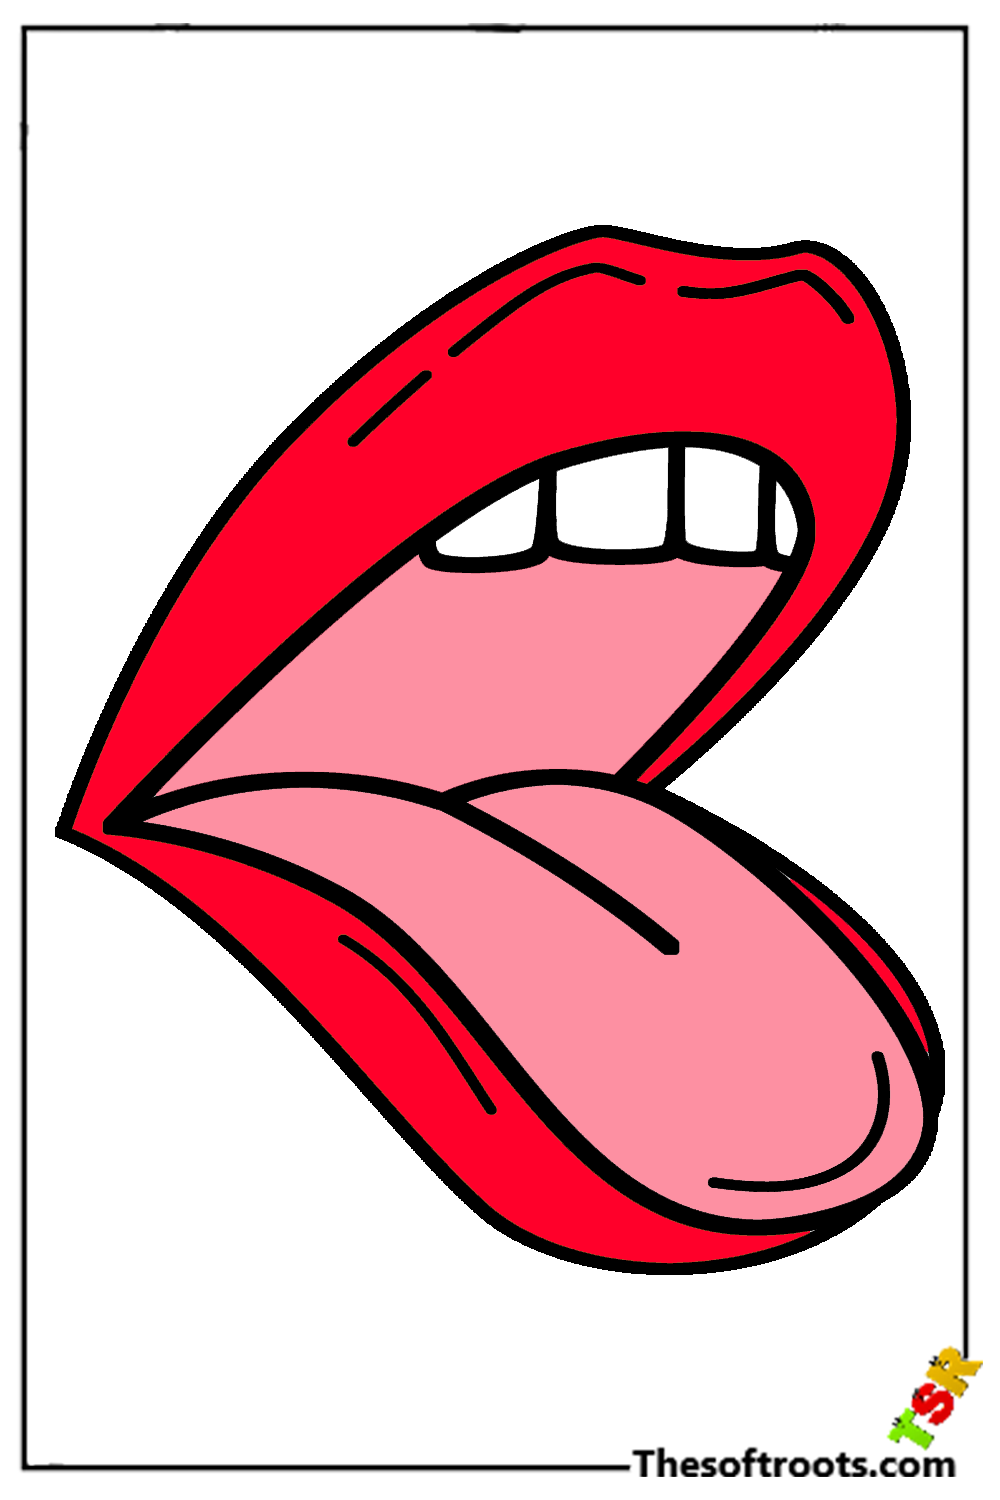
Stage 6 – Polish off your drawing with a variety.
Now is the ideal time to polish off this drawing for certain wonderful varieties! In our reference picture, we went for certain radiant reds and pinks for the lips to make them seem as though they’re shrouded in brilliant lipstick.
You could utilize comparable varieties to our own if you like the look, yet you could pick numerous different tones regardless of whether you need a look of lipstick! On the other hand, you could likewise go for an additional muffled tone for a characteristic focus on the picture. Different craftsmanship devices and mediums would suit various inclinations.
For instance, watercolours would be perfect for a characteristic look, while a few splendid-hued pens would be perfect for a glossy lipstick.
Also Read Easy business tricks